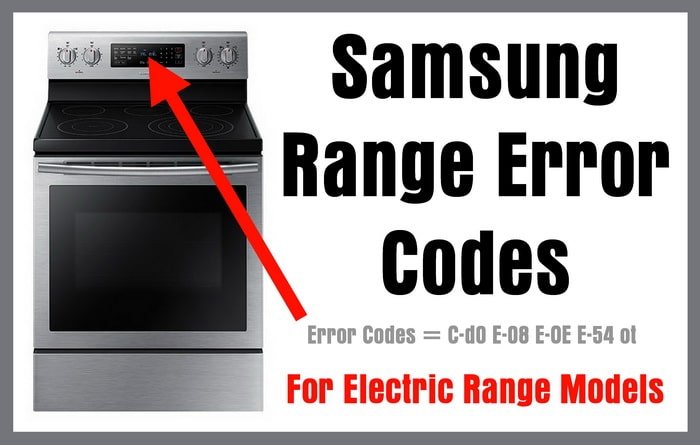
You might be wondering, “What exactly is the E1 error code trying to tell me?” In essence, this code is a way for your appliance to signal that there’s a problem with temperature control. Think of it like your oven’s way of saying, “Hey, I’m having trouble keeping things at the right heat!” In many cases, this isn’t a major malfunction; it’s more like a gentle reminder that a little bit of troubleshooting can get things back on track.
So, if you’re ready to dive into understanding and fixing this issue, let’s break it down step by step. We’ll go over what causes the E1 error, how to troubleshoot it, and how to prevent it from happening in the future. It might be simpler than you think!
Understanding What Causes the E1 Error Code
The E1 error code might seem mysterious at first, but it’s actually pointing to a specific issue with your oven’s temperature sensor. Imagine the sensor as the oven’s internal thermometer. It keeps an eye on how hot things are inside, ensuring everything is cooked just right. When the sensor isn’t working correctly, the oven can’t regulate its temperature properly, leading to the E1 error code.
A common cause for this is a faulty temperature sensor itself. Over time, just like any other gadget, sensors can wear out or become less reliable. This could be due to regular use, or even exposure to high temperatures that eventually take a toll. Sometimes, the sensor might not be installed correctly, causing it to malfunction or send incorrect readings to the oven’s control board.
Another possible culprit could be a loose or damaged wire connection. Wires that connect the sensor to the oven’s control system must be intact and secure to transmit accurate information. If these wires are loose, frayed, or broken, the signals can get interrupted, resulting in that E1 code flashing on your display.
So, what does this mean for you? Fortunately, you don’t have to be an expert technician to understand or manage these issues. With a bit of guidance, you can often identify and resolve the problem, ensuring your oven returns to peak performance.
How to Troubleshoot the E1 Error Code
Ready to roll up your sleeves? Let’s tackle how you can troubleshoot this error without too much hassle. First, ensure your oven is off and safely unplugged from power — safety always comes first! Take a look at the temperature sensor, which is usually located inside the oven near the back. Is it visibly damaged or does it look out of place? If it appears loose, try gently securing it back into position.
Next, inspect the wiring. Think of these wires as the veins transporting crucial information. If they’re damaged or loosely connected, the whole system can falter. Make sure all connections are firm and show no signs of wear and tear. If the wiring looks suspect, you might need to replace them or call in a technician to help.
Still getting the E1 code after checking? It could be time to swap out the old sensor for a new one. A faulty sensor is like having a broken thermostat in your car; replacement ensures everything runs smoothly again. Fortunately, these sensors are typically affordable and straightforward to replace. Check your user manual for specific part numbers and instructions, or consult Samsung’s support for assistance.
After all these checks, plug your oven back in and give it a test run. If the E1 code disappears, congratulations, you’ve successfully tackled the issue!
Preventing Future E1 Error Codes
Now that you’ve got things working again, let’s keep it that way! Regular maintenance can greatly reduce the chances of encountering another E1 error. Think of it like giving your car a regular oil change — a little upkeep goes a long way.
Inspect your oven and sensor monthly, cleaning them gently with a damp cloth to remove any buildup that might interfere with their operation. Ensure the sensor remains securely in place and that all connections stay firm and intact. If you ever notice unusual behavior, don’t wait for the E1 code to appear; check things out immediately.
Another tip is to avoid exposing your oven to extreme temperature changes, which can strain the sensor and wiring over time. When cooking, allow your oven to preheat gradually, and avoid opening the door frequently, which can cause sudden temperature shifts.
By keeping up with these simple checks and precautions, you can minimize the risk of future errors. This not only saves you the headache of troubleshooting issues but also helps extend the life of your appliance. Remember, your oven is your friend in the kitchen — taking care of it ensures it takes care of you!
