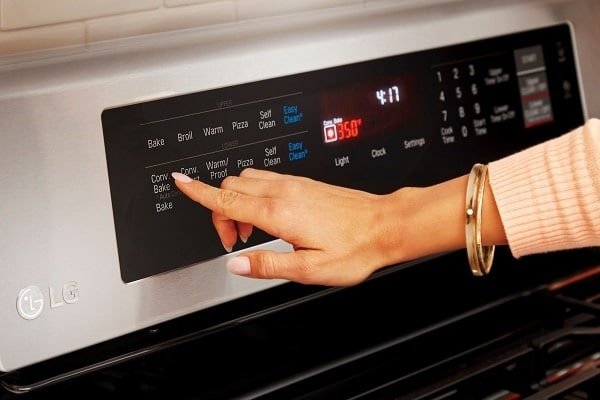
When your LG oven or range shows an error code E1, it’s essentially saying, “Whoa there, something’s not right!” It’s like your oven’s way of raising a little red flag to get your attention. Often, this code indicates a problem with the temperature sensor within your appliance. You know how when you’re trying to cook dinner and your oven just doesn’t seem to be heating right? That’s often linked to the E1 code. But don’t worry, we’re here to break it all down for you in a straightforward way, so you can tackle the issue head-on.
Understanding the E1 Error Code
The E1 error code on your LG oven and range is like a little nudge from your appliance, telling you that there’s an issue with the temperature sensing. Think of it like this: if your oven were a person, the temperature sensor would be its “thermometer.” And, if the thermometer isn’t working correctly, it can’t accurately check the oven’s “fever” or temperature. This can cause problems with how your oven heats and cooks your food.
Imagine you’re baking cookies. You set the temperature to 350 degrees Fahrenheit, but your oven’s sensor is on the fritz. It might think it’s way hotter or colder than it actually is. This could mean your cookies come out undercooked or crispier than desired. It’s just like trying to bake with a thermometer that keeps giving you the wrong temperature — frustrating, right?
So, what causes this pesky E1 code to appear? Often, a faulty temperature sensor or related wiring issues could be the culprit. Over time, these components can wear out or become damaged, just like a worn-out pair of sneakers. The sensor might send incorrect information, making the oven unable to heat properly.
Troubleshooting the E1 Error Code
Now that we’ve set the stage, how do you go about fixing this error? First off, don’t panic. Addressing this issue is manageable, and with a bit of patience, you can often resolve it yourself. Let’s think of tackling this problem as embarking on a mini DIY project.
The first step is to ensure your oven is off and safely disconnected from the power. Your safety is priority number one, just like wearing a seatbelt in a car. Once that’s done, you’ll want to inspect the temperature sensor. Picture the sensor as the oven’s thermometer — if it looks damaged, it may need replacing. You can find it inside the oven cavity, usually at the back.
If you’re comfortable with a bit of hands-on work, you can test the sensor with a multimeter to see if it’s reading within the expected resistance range. If this sounds a bit too technical, that’s okay! Sometimes, it’s best to call in a professional who can diagnose the issue with the right tools and expertise.
Preventing Future E1 Errors
Like most things in life, prevention can save you a heap of trouble down the road. So, how do you keep that E1 error at bay? Regular maintenance of your oven is key — just like you’d take your car in for a regular tune-up. By regularly checking the condition of the temperature sensor and ensuring that all connectors and wiring look intact, you can often catch potential problems before they escalate.
Another good practice is to avoid exposing the sensor to potential damage. This might mean being cautious about spills and cleaning around it gently. Just imagine the sensor as a delicate instrument that needs a little extra care to stay in good working condition.
And, if you do encounter issues, acting quickly is always a good choice. The sooner you address the problem, the less likely you’ll face more significant repair costs. Just like fixing a small leak before it becomes a flood, staying on top of minor issues can save you a world of trouble.
With these tips and an understanding of the E1 error code, you’re well-equipped to handle any hiccup in your cooking endeavors. So, go ahead — conquer that error code and get back to creating delicious meals!