But don’t fret! Fixing this issue is relatively simple, and it’s something you can do without calling a technician. It’s just like solving a simple jigsaw puzzle. Once you know where all the pieces go, you’ll have a fully functioning washing machine again. So, let’s dive into the world of washing machines and get yours back on track.
Understanding Error Code E1
When your LG washing machine flashes the E1 error code, it’s primarily indicating there’s a problem with the water flow. Essentially, the machine is not detecting the expected amount of water entering the drum. Imagine turning on your garden hose and only getting a trickle; you’d immediately know something’s off, right? Similarly, your washing machine senses when water isn’t flowing as it should.
There could be a few reasons behind this issue. Sometimes, the water inlet valve, which controls the flow of water into the machine, might be partially blocked or entirely clogged. Picture this valve as the faucet in your sink. If there’s any buildup or blockage, the water won’t flow smoothly, affecting your machine’s performance. Other times, the problem could be as simple as a kinked hose, preventing water from making its way into the washer.
Before we delve into the steps to reset the machine, there are a few checks you might want to perform. Ensure the water supply taps are fully turned on. It might sound basic, but sometimes the simplest checks can make all the difference. Also, inspect the hoses for any visible signs of damage or blockages. Once these are clear, you’re ready to reset the machine.
Steps to Reset Your LG Washing Machine
Resetting your LG washing machine after encountering the E1 error code can be done in a few simple steps. Think of it as rebooting your computer when it starts acting up. It might seem daunting at first, but with a little patience, you’ll have it running smoothly in no time.
First things first, turn off the washing machine and unplug it from the wall. Just like giving your computer a rest, this will help any residual energy dissipate, ensuring a fresh start. Leave it unplugged for about 10 to 15 minutes, which allows the machine’s internal systems to reset fully. It’s not uncommon to feel a bit impatient during this step, but remember—good things come to those who wait!
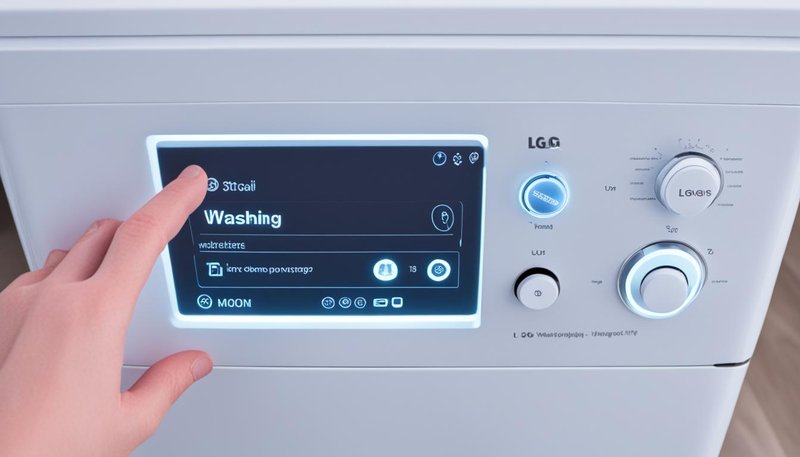
Once the waiting period is over, plug the machine back in. Turn the machine on and select a washing cycle. By doing this, you’re essentially asking your washer to start afresh, much like restarting a video game level. Observe the machine during this initial phase to see if the E1 error crops up again. If it’s gone, fantastic! You’ve successfully reset your machine.
If the E1 error persists, don’t worry just yet. Double-check that you’ve inspected all hoses and valves for blockages or kinks. Sometimes, it might take a couple of resets to completely clear the error, akin to trying different solutions until you find the one that works.
Preventing Future E1 Errors
Now that you’ve cleared the E1 error and your washer is working fine, let’s ensure it doesn’t happen again. Think of this as developing a maintenance routine for your washing machine, much like you would for your car or bicycle.
Regularly check the water inlet hoses to ensure they’re not twisted or damaged. Consider replacing them every few years to avoid potential failures. Imagine them as the veins of your machine; keeping them clear ensures a healthy flow of water, just like keeping your veins healthy ensures a good flow of blood.
Another preventive measure is to clean the water inlet filters periodically. These filters can gather sediment and debris over time, which can obstruct water flow. Cleaning them is like removing debris from a clogged drain, ensuring a smooth flow.
Finally, always ensure that your machine is balanced and leveled on a firm surface. An unsteady or tilted machine can lead to problems with water flow and cause error codes to pop up again. Keeping your machine stable is much like ensuring a table is level, so your coffee doesn’t spill.
There you have it! By understanding the problem and following these simple steps, you’re not only fixing the current issue but also arming yourself with the knowledge to prevent future ones. Your washing machine is back in action, and you’ve gained confidence in tackling home appliances!
