Now, you might be wondering if there’s a simple fix to this mysterious message. Can resetting your KitchenAid garbage disposal solve the problem? It’s a question worth asking, as the idea of calling a repair technician can feel daunting — not to mention potentially costly. Let’s explore this together and see if a simple reset is your answer to a smooth-running disposal once again.
Understanding Error Code LE on KitchenAid Garbage Disposals
Before diving into solutions, let’s uncover what error code LE really means. Think of it like your garbage disposal trying to communicate a problem the only way it knows how. In many KitchenAid models, error code LE indicates a “clogged drain” or “overloaded motor.” Imagine your disposal is like a busy highway, and the LE code is a little traffic sign that pops up to warn you there’s congestion ahead.
Why does this happen? Well, often, it’s because too much waste has been shoved through at once, or perhaps some inappropriate items have found their way in. Have you ever tried to stuff too many cookies into a jar at once? It’s a similar concept — the disposal simply gets jammed up or overloaded.
So, in essence, the LE code is your disposal’s way of saying, “Hey, I’m struggling here! Help me out!” Understanding this is the first step toward resolving the issue, which might be as simple as hitting that reset button. But before we rush to solutions, let’s take it slow and understand how a reset might help.
How Resetting Works with Garbage Disposals
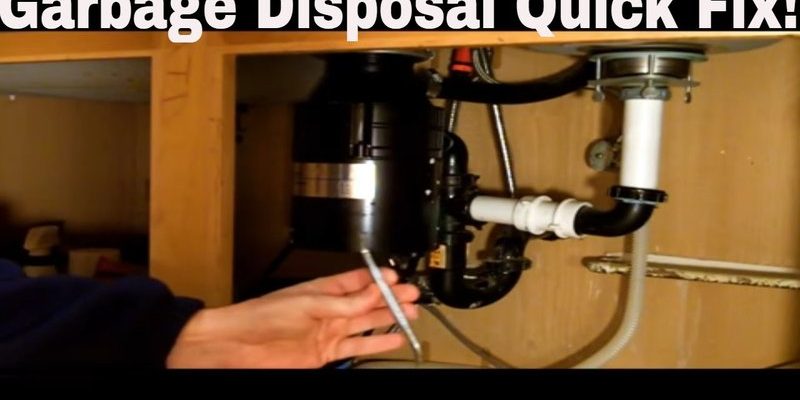
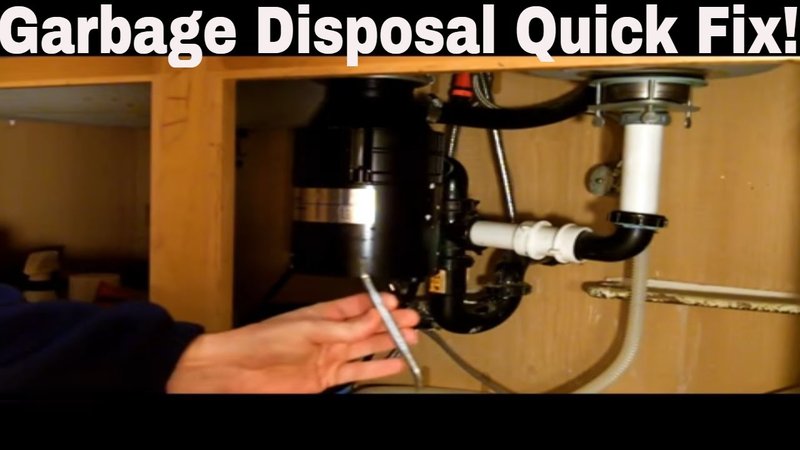
Resetting your KitchenAid garbage disposal is like giving it a little nudge to get back on track. It’s akin to rebooting your smartphone when an app is acting up — a fresh start can often resolve minor glitches. The reset button on your garbage disposal is a small, usually red button located on the bottom or side of the unit. Pressing it can clear specific errors and reset the motor, getting rid of that pesky LE message if it was triggered by something minor.
You might be thinking, “Is it really that simple?” Sometimes, yes! A reset can clear minor overloads or jams if everything else is mechanically sound. However, it’s important to keep in mind that this is more of a quick fix rather than a cure-all solution. If the underlying problem persists, you might find that error code popping up again sooner rather than later.
So if your disposal is still acting up even after you’ve pressed reset, don’t worry — we’ve got you covered. But in many cases, taking a moment to reset could save you a lot of hassle and keep your kitchen running smoothly.
When Resetting Isn’t Enough: Further Troubleshooting
If you’ve given resetting a shot and that LE code is still haunting you, it may be time to dig a little deeper. Just like when a computer freezes, a restart sometimes isn’t enough if there’s a bigger issue at hand. The same goes for garbage disposals. Persistent error codes might indicate clogs deeper in the system or potential mechanical issues.
First, let’s tackle the possibility of a clog. This is common, especially if fibrous food scraps like celery or potato peels find their way into the disposal. Such items can wrap around the blades or cause significant blockages. To check, ensure the disposal is off and unplugged for safety, and use a flashlight to inspect for visible obstructions. Be cautious and use tools like tongs to remove anything jammed — never use your fingers.
If clogs aren’t the issue, there might be a deeper mechanical problem. In such cases, calling a professional is recommended. It’s like if your car keeps stalling — at some point, you’ll need a mechanic’s expertise. Keeping your disposal in top shape sometimes means knowing when to call in reinforcements.
Prevention Tips for a Healthy Garbage Disposal
The best way to deal with the LE code is, quite simply, to avoid seeing it in the first place. Here’s the key: treat your garbage disposal with a little tender loving care. It’s like nurturing a plant or maintaining a healthy diet — what you put in plays a significant role in the outcome.
To prevent future issues, be mindful of what goes down the drain. Avoid fibrous materials, greasy substances, and non-food items. Run cold water before, during, and after operating the disposal to help clear any debris effectively. Think of it as washing down your favorite meal with a refreshing drink to help it go down smoothly.
Regular maintenance can also work wonders. Periodically flushing the unit with a mixture of baking soda and vinegar can help keep it clean and deodorized. And just like you’d take your car for regular check-ups, consider routine inspections for your disposal, especially if it’s a key player in your kitchen.
By keeping these tips in mind, you’re more likely to enjoy a hassle-free disposal experience. Remember, taking small steps toward prevention can save you a lot of trouble down the road.