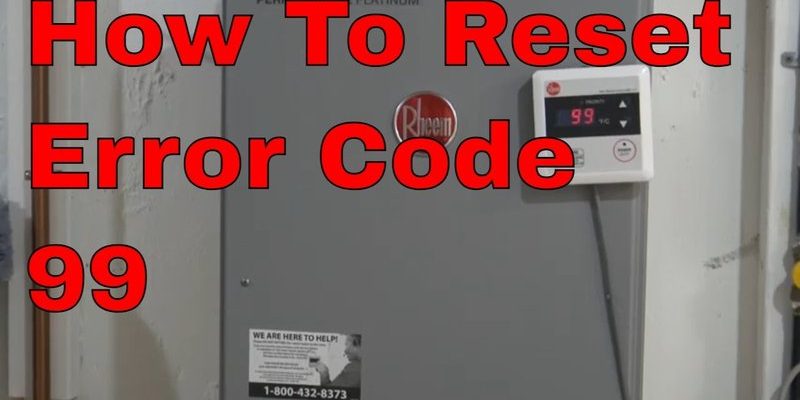
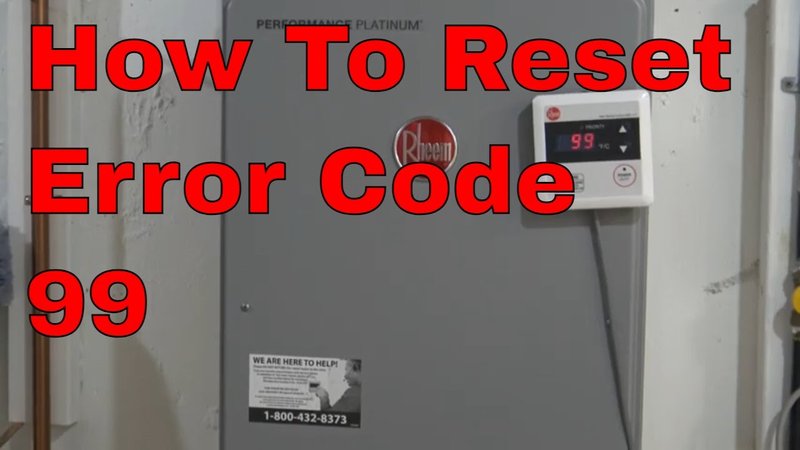
Error code E2 on a Rheem water heater usually indicates an issue with the temperature sensor. Think of this sensor like a thermostat in your home—it helps your heater know when to heat things up or cool them down. When it’s not working properly, it’s as if your water heater is trying to navigate without a map. It’s frustrating, right? But no worries! Resetting the system is often the best starting point. The process may seem daunting, but with a little guidance, you can tackle it like a pro. Let’s dive in and get your water heater back on track.
Understanding Error Code E2: What It Means
When you see the E2 error code flash on your Rheem water heater, it’s essentially a cry for help from your unit’s temperature sensor. This little component lives to make sure your water is set to the perfect heat. If it malfunctions, it’s a bit like having a weather app that can’t tell if it’s rainy or sunny outside—it throws everything off balance. The E2 code is your heater’s way of alerting you that the sensor might be confused, disconnected, or simply malfunctioning.
So, why does this happen? Well, life on the inside of a water heater isn’t always smooth sailing. Over time, sensors can wear out due to constant exposure to heat and moisture. Imagine how your skin feels after a long day in the sun—sensors can experience a similar type of burnout. In some cases, internal wiring issues or even a buildup of grime can prevent the sensor from doing its job properly. It’s as if a group of gremlins decided to set up camp inside your heater, causing mayhem.
While the problem sounds technical, resolving it often starts with a reset. Think of it as rebooting your computer when it starts acting glitchy—it can clear up temporary issues and give the system a fresh start. Resetting your Rheem water heater is generally straightforward, and learning how to do it yourself can save you time and a potential service fee. Let’s move on to the steps!
Steps to Reset Your Rheem Water Heater
Resetting your Rheem water heater is like giving it a little software update. It’s a process that’s simple enough for a beginner to handle, so don’t worry if you’re not particularly handy. Here’s the deal: you’ll be guiding your heater through a quick refresh, helping it shake off any cobwebs that might have caused the E2 error to appear.
Step 1: Power Down the Unit
First things first, you’ll need to turn off the power to your water heater for safety reasons. This is much like ensuring your car is in park before you start fiddling with the engine. If your heater is electric, locate the circuit breaker that supplies power to the unit and switch it off. For gas heaters, make sure to turn the gas valve to the “off” position. It’s crucial to ensure there’s no risk of shock or gas leak before you proceed to the next steps.
Step 2: Locate the Reset Button
With the power safely off, it’s time to find the reset button. Typically, this little button is located behind an access panel. Depending on your model, you might need to loosen some screws to get to it. Think of it like searching for a reset button on a video game console—it might take a little peek inside, but it’s usually straightforward.
Step 3: Press the Reset Button
Once you’ve found the reset button, press it gently. You should feel a slight click, which means it’s been activated. This step is akin to pressing the reset button on the back of a router when your internet is on the fritz. It gives your system a chance to recalibrate itself. After a few moments, replace the access panel and screw it back in securely.
Verifying Success and Next Steps
After you’ve reset the unit, it’s time to power everything back up and see if the issue has been resolved. Flip the breaker switch back on or turn the gas valve to the “on” position. Give the water heater a few moments to start up. It’s like turning on a car; you need a bit of patience as everything gets going again.
Check the control panel to see if the E2 error has cleared. You might be wondering, “What if the error persists?” Well, if the code is still pestering you, there might be a more serious issue at play. In this case, consulting a professional technician could be your next best move. They’ve got the skills to dive into the deeper mechanics and ensure everything is in tip-top shape.
In the meantime, keeping an eye on your heater’s performance can help you catch similar issues before they turn into major headaches. Consider routine maintenance checks, like an annual service or a cleaning, to keep your unit in prime condition. It’s like taking your car for regular oil changes—prevention is key.
Preventative Measures and Maintenance Tips
Now that you’ve tackled the E2 error and your water heater is back in the game, let’s talk about keeping it there. Regular maintenance can be your best friend. Think of it like brushing your teeth daily—it’s a small effort that prevents bigger problems later on. Checking your water heater’s parts every few months can ensure everything runs smoothly.
To prevent future E2 errors, make sure your heater’s environment is clean and dry. Dust and moisture are the arch-nemeses of a water heater’s internal components. A bit of regular dusting and perhaps a dehumidifier for particularly damp areas can work wonders. It’s similar to ensuring your laptop’s fan is clear of debris; a little cleaning goes a long way.
Lastly, consider having a professional tune-up at least once a year. This is like taking your car for a routine check-up—it keeps everything running smoothly and extends the life of your water heater. Technicians can spot issues early and save you from potential cold showers later.
By following these steps and maintaining your unit, you’re not just repairing a temporary glitch; you’re investing in the long-term health of your home’s hot water supply. Enjoy those warm showers and the peace of mind that comes from knowing you’ve got your water heater under control!