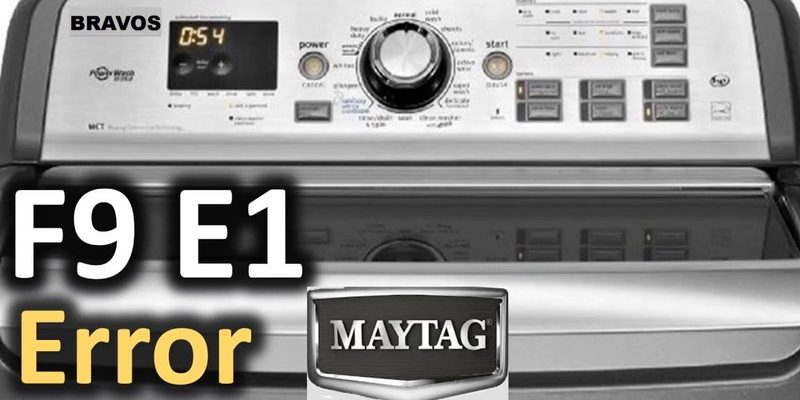
Washing machines, like your trusty Maytag, are filled with complex systems, but they have a simple mission: clean clothes, efficiently and effectively. However, when something goes off-kilter, these machines alert you with error codes. In the world of appliances, an E1 error code in Maytag washing machines is like a red flag waving high, signaling there’s a problem with the water inlets. But don’t stress just yet; understanding why this happens and how to fix it can be easy when you break it down step by step.
Understanding the E1 Error Code
So, what’s the deal with the E1 error? Picture your washing machine as a mini ecosystem, much like your own home’s plumbing. Just as you expect water to flow smoothly from your kitchen tap, a washing machine expects water to enter its system without a hitch. The E1 error pops up when there’s trouble in this vital area—the water isn’t coming in as it should. This might happen if the water inlet valves aren’t working correctly, much like a faucet that’s turned off or blocked.
You might be wondering, “How does this happen?” Well, several factors could lead to this snag. Sometimes, the water supply taps connecting to your machine might be partially closed or completely shut off. In other instances, debris or a kink in the hose can disrupt the water flow, akin to a bent garden hose restricting water. Moreover, a malfunctioning water inlet valve—the component that opens to let water in—could also be a culprit.
Before you start picturing hefty repair bills, take a moment to breathe. This error is usually easy to diagnose, and in many cases, you can fix it yourself with a little guidance. The trick is to systematically check each potential trouble spot, including those water supply faucets, hoses, and the valve itself. With a bit of patience, you’ll likely have your machine running smoothly again.
Diagnosing the Problem
Alright, let’s put on our detective hats for a moment and figure out where the issue lies. First, you’ll want to inspect the water supply faucets. Make sure they’re completely open. This simple check can often resolve the problem on the spot, as sometimes taps might be partially closed by mistake. Think of it as ensuring the main water line to your home’s irrigation system is on so your plants can thrive.
Next, take a look at the hoses. If they’re kinked or bent, it can obstruct water flow, just like a pinched straw. Straighten any kinks and ensure the hose connections are secure. You might also want to unscrew the hoses and see if there is any buildup or debris blocking the water’s path. Clean these out if needed, using a small brush or even your fingers to clear obstructions.
Lastly, if everything seems fine on the outside, it could be the water inlet valve inside the machine. This component can wear out over time, similar to how a well-used door hinge might need greasing or replacement. If you suspect this is the issue, you might need to contact a professional unless you’re comfortable handling appliance repairs yourself. But knowing where the issue likely lies can save you time and costs when discussing it with a repair technician.
Preventing Future E1 Errors
Prevention, as they say, is better than cure. So how can you keep the E1 error at bay? Start with regular maintenance checks. Once a month, ensure your water supply faucets are fully open, and the hoses are free from kinks or blockages. This simple step can go a long way in preventing mishaps.
Another useful tip is to periodically clean the inlet screens. These are small mesh filters inside the water inlet hoses that catch debris. Over time, these can get clogged, much like a lint trap in your dryer. By cleaning them, you ensure a smooth water flow, which can help avoid triggering the dreaded E1 error.
Finally, if your machine is older, consider having a professional technician check the water inlet valves occasionally, especially if you’ve experienced issues in the past. This proactive approach is like getting regular oil changes for your car, ensuring everything runs smoothly and efficiently.
What to Do If You Encounter the Error Again
So, let’s say you’ve followed the steps, and everything seems fixed, but what if the E1 error rears its head again? This might indicate a deeper issue that needs professional attention. Before you throw in the towel, double-check your work. Go through the steps again to ensure nothing was missed. It’s like re-reading a recipe to make sure you’ve got every ingredient right.
Should the problem persist, don’t hesitate to call in an expert. A certified technician can perform a more thorough diagnosis, possibly uncovering issues like electrical problems or worn-out components that aren’t immediately visible. Remember, sometimes the best fix is in the hands of a professional, especially when it saves you from more extensive damage down the line.
As a final suggestion, always keep your appliance manual handy or bookmark help resources online. These can be invaluable for troubleshooting and offer peace of mind knowing solutions are within reach. Now go on, tackle that laundry mountain with newfound confidence!