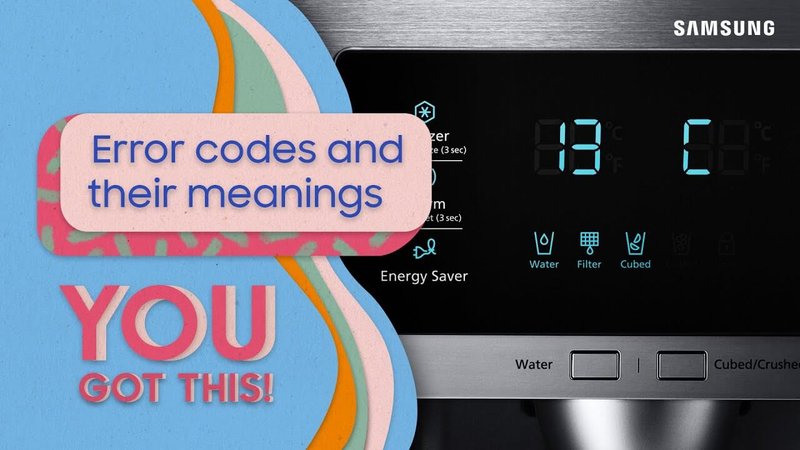
The good news is that with some simple tips, you can avoid this pesky error code in the future. This guide will walk you through what causes the E2 error, how to address it, and, most importantly, how to keep it from rearing its inconvenient head again. We’ll break it all down step-by-step, so you don’t need to be a tech wizard to keep your fridge running smoothly.
Understanding the E2 Error Code
When your Samsung refrigerator displays an E2 error code, it’s trying to communicate with you. It’s somewhat like your fridge waving a small red flag to catch your attention. At its core, the E2 error signifies that there’s a problem with the temperature sensor. The sensor acts like a thermometer, ensuring your fridge stays at the right temperature to keep your food fresh. If the sensor doesn’t work properly, it can cause your refrigerator to think it’s cooler or warmer than it actually is.
Why does this happen? Well, several reasons might be at play. It could be due to a loose connection, a faulty sensor, or even dust and grime build-up, which can affect the sensor’s connection with the control board. Imagine trying to hear a call when there’s static in the line — the sensor struggles to send the correct information to the fridge, causing the E2 code to flash up.
Addressing the root cause of this issue is crucial. If you ignore it, your fridge might not maintain the proper temperature, leading to spoiled food, icy buildup, or even higher energy bills. No one wants to waste food—or money! But don’t worry; it’s often something you can fix on your own, and with a few simple steps, you can prevent it from happening again.
Common Causes of the E2 Error Code
Let’s dive into why you might see this error code. A common culprit is the temperature sensor itself, which might be malfunctioning. Think of it like a bad thermostat in your home; if it doesn’t read the temperature correctly, your home could be too hot or too cold. Similarly, if the sensor fails, your fridge might either chill too much or not at all. Checking the connection between the sensor and the control board is a good first step because a loose or broken wire can often cause the error.
Another source of trouble could be environmental factors. Imagine your kitchen as a bustling environment full of spills, crumbs, and dust. Over time, dust can accumulate around the fridge’s components, leading to issues like the E2 error. Regularly cleaning around your refrigerator, including behind it, can prevent dust and grime from interfering with the sensor and other parts.
Sometimes, power surges or fluctuations in your home’s electricity supply can cause temporary sensor malfunctions. Much like a brief power outage disrupts your daily routine, these fluctuations can trick the sensor into behaving erratically. Using a surge protector can safeguard your appliance against these power blips, ensuring your fridge runs smoothly.
Preventing the Error Code from Returning
Now that you know the common causes, how can you keep this from happening again? The key is regular maintenance and a little bit of TLC for your fridge. Make it a habit to clean around and under the fridge every few months. Keeping the area dust-free helps prevent sensor issues and ensures optimal airflow, which is critical for energy efficiency.
Routine checks are also vital. Just like you would regularly service your car to keep it running smoothly, take a moment every few months to inspect the sensor and its connections. Ensure all wires are secure and in good condition, without any signs of wear or damage. Catching potential issues early can save you from bigger headaches down the line.
In some cases, replacing a faulty sensor might be necessary. It’s akin to replacing a faulty light bulb; sometimes, things simply wear out and need a change. If you’re not comfortable doing this yourself, contacting a professional for an inspection can provide peace of mind. They can detect subtle issues that might not be immediately obvious and recommend appropriate action.
Steps to Resolve Current E2 Error Code
If you’re currently facing the E2 error code, there are straightforward steps you can take to resolve it. First, unplug your refrigerator for about five minutes and then plug it back in. This simple reset can sometimes clear the error, like rebooting a computer that’s acting up. If the error persists, it’s time to dig a little deeper.
Check the temperature sensor and its connections. You might need to remove a panel or two, but don’t worry—it’s usually just a few screws. Gently inspect the sensor and the wires leading to it. Look for any visible damage or loose wires. If everything seems fine but the error remains, the sensor might need replacing.
Should these steps not resolve the issue, it might be time to call in a professional. Think of it like calling a mechanic when your car needs specialized care. A trained technician can perform tests and repairs that might be beyond the scope of simple DIY solutions, ensuring that your fridge is back to optimal performance quickly.
Long-Term Maintenance Tips for Your Samsung Refrigerator
To keep your fridge in top shape and to prevent future error codes, long-term maintenance is your best friend. Regularly defrosting your appliance prevents ice build-up, which can interfere with performance and sensor accuracy. You should also ensure that the fridge is level. An uneven fridge can lead to doors not sealing correctly, allowing warm air in and leading to inefficiencies and errors.
Moreover, check the door seals by closing the door on a piece of paper or a dollar bill. If you can easily pull it out, it might be time to replace the seals. This basic check ensures your fridge isn’t overworking itself, which can lead to higher bills and potential errors.
Finally, make it a practice to schedule a yearly professional service appointment. Just like a health check-up, this preventive maintenance can catch and resolve brewing issues, extending the life of your refrigerator. By following these steps, you’ll keep your fridge happy and error-free, ensuring all of your food stays as fresh and delicious as possible.
