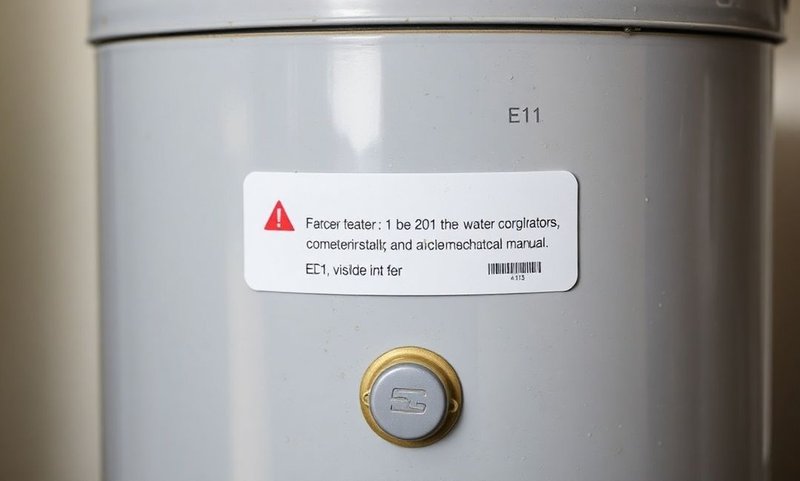
Rheem water heaters are generally reliable, but like any device, they can experience issues. The E1 code specifically indicates problems related to the water pressure or flow. This means that your water heater is having difficulties maintaining the necessary water input and output levels for optimal performance. The good news? Understanding the reasons behind this error can help you address the issue and potentially avoid costly repairs or replacements. So, let’s dive deeper and explore the most common causes of Rheem Water Heaters Error Code E1.
Understanding Water Pressure and Flow Issues
When you turn on a faucet and nothing — or very little — comes out, it can be quite frustrating. This is essentially what’s happening with your Rheem water heater when it displays the E1 error code. The root of the issue often lies in the water pressure and flow. Think of it like a river: if debris clogs the way, the water can’t flow smoothly downstream. Similarly, if there’s an obstruction or imbalance in your water system, the heater can’t function properly.
Water pressure issues can stem from several sources. For instance, sediment buildup in the pipes or water heater itself can significantly reduce flow. Over time, minerals and debris accumulate, creating a bottleneck that limits water movement. Additionally, low municipal water pressure or issues with your home’s plumbing system can contribute to this problem. It’s like when you try to drink through a straw that’s been partially pinched — the flow just isn’t as strong as it should be.
So, what can you do? Start by checking the water pressure in other taps around your home. If the issue seems widespread, it might be a systemic problem rather than just the heater. Sometimes, simply cleaning out sediment from the water heater or adjusting the pressure regulator can restore proper flow. And don’t forget to flush your water heater regularly to prevent sediment buildup. It’s a small task that can make a big difference!
Examining the Water Inlet Valve
The water inlet valve in your Rheem water heater plays a crucial role in supplying water to the unit. If this valve isn’t functioning correctly, it can trigger the E1 error code. Picture this: the valve is a gatekeeper, regulating how much water enters the heater. If it’s jammed or clogged, the heater can’t get the water it needs to operate efficiently.
Over time, mineral deposits or debris can clog the valve, restricting the water flow. Think of it like a clogged faucet that only dribbles water instead of a full stream. This issue can also arise if the valve itself is faulty or damaged, leading to improper water supply to the heater.
How can you address this? First, inspect the valve for any visible blockages or damage. Sometimes, a good cleaning can do the trick. If that doesn’t solve the issue, replacing the valve might be necessary. Keep in mind that working with water systems can be tricky and may require professional assistance. But don’t worry — taking care of this component ensures your water heater can function smoothly and efficiently.
Troubleshooting Temperature Sensor Faults
Another culprit behind the E1 error code could be a faulty temperature sensor. This sensor acts like a thermostat in your home, ensuring the water heater maintains the correct water temperature. If it malfunctions, the heater might misinterpret water temperatures, leading to incorrect heating or even a shutdown.
Imagine trying to cook with a broken thermometer — you’d never be sure if your food is cooked to the right temperature. Similarly, a malfunctioning temperature sensor sends inaccurate information to the heater, causing it to misbehave. This issue might be due to wiring problems, sensor damage, or even electrical glitches in the heater’s system.
What’s the way forward? Try resetting the water heater first — sometimes, a simple restart can fix minor glitches. If the error persists, check the sensor for any visible damage or loose connections. Replacing a faulty sensor might require professional help, but it ensures your heater accurately regulates water temperatures. Remember, regular maintenance can help prevent sensor-related issues in the first place!
Ensuring Proper Venting and Airflow
Last but not least, venting and airflow issues can also lead to the E1 error code. Adequate ventilation is essential for any appliance that uses combustion, like a gas water heater. Without proper airflow, the heater can’t burn fuel efficiently, leading to performance issues and error messages.
Think of this as trying to light a campfire in an enclosed space — without enough fresh air, the fire won’t burn as it should. Similarly, inadequate venting or airflow restrictions can hinder the water heater’s operation. This might result from blocked vents, obstructions in the exhaust system, or even issues with the room’s overall ventilation.
To tackle this problem, inspect the venting system for any blockages or damage. Ensure that the area around the heater is well-ventilated and free from obstructions. Sometimes, all it takes is a little rearranging or cleaning to solve the issue. If necessary, consult a professional to ensure your water heater’s venting setup meets safety standards. Proper airflow is key to maintaining your heater’s efficiency and longevity!
In conclusion, understanding and addressing the Rheem Water Heater’s E1 error code can save you time, money, and frustration. By monitoring water pressure, checking the inlet valve, ensuring accurate sensors, and maintaining proper airflow, you can keep your heater running smoothly. Remember, regular maintenance is your best bet for preventing these issues altogether. So, next time your heater flashes the E1 code, you’ll know exactly where to start troubleshooting!
