Imagine your garbage disposal as a mini factory where food goes in as waste and comes out as smooth running water down the drain. When something goes awry, like a jam or an influx of too much food, the system’s internal sensors may trigger the infamous E1 error. It’s a safety mechanism designed to prevent the motor from burning out. You might be tempted to call in the pros, but sometimes a simple reset can be the hero of the day.
Understanding the E1 Error Code
Before diving into resets, let’s take a step back and decode what that pesky E1 error actually signifies. Picture the E1 code as the garbage disposal’s way of waving a white flag. More often than not, it’s indicating that the appliance has encountered an overload situation. This could occur if the disposal has met its match with tough food items, or perhaps it’s taken in more than it can chew — literally.
Think of it like feeding a stubborn clogging drain too much at once. The motor is designed to process certain quantities, and going beyond that can trigger protective measures. The E1 code acts as a guardian, safeguarding your appliance from potentially serious damage by cutting off power temporarily. It’s a rather smart little system when you think about it. But here’s the catch — understanding why the error has occurred is vital for ensuring it doesn’t make a frequent appearance.
Next steps? It’s essential to consider what might have caused the overload. Was it something like fibrous vegetables or hard bones? Maybe a combination of scraps thrown in at once? Identifying these culprits aids not only in resolving the issue but also in preventing future E1 episodes.
The Reset Process: A Step-by-Step Guide
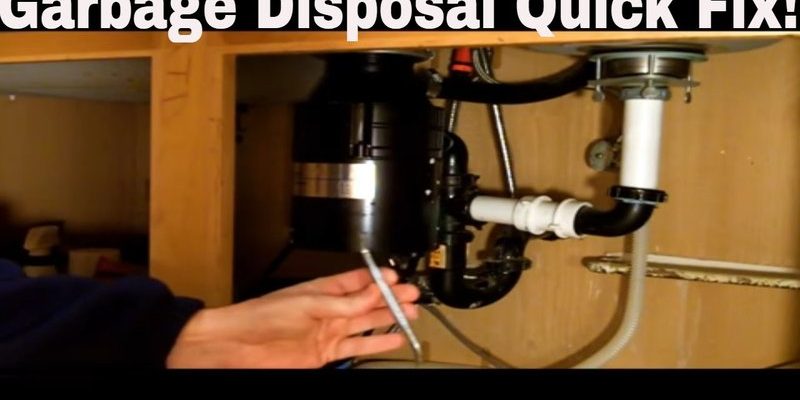
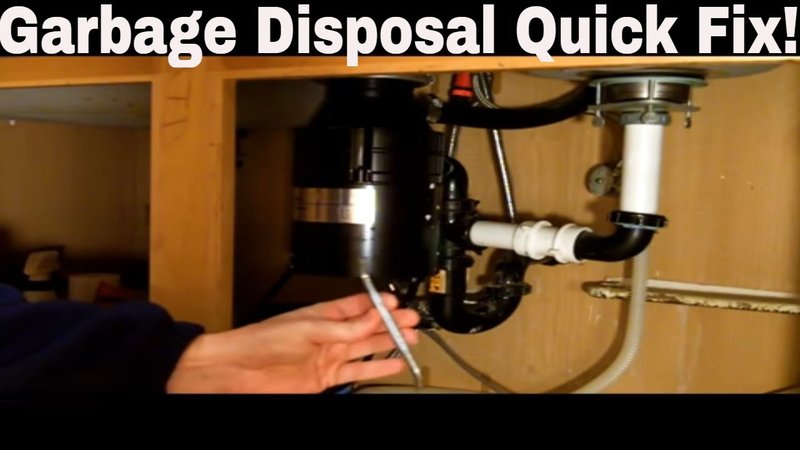
Here’s the deal: resetting your Waste King garbage disposal is akin to giving it a fresh start. Start by locating the reset button, typically found at the bottom or side of your unit. It’s like the reboot button on your computer, designed to shake things up a bit.
First, ensure your disposal is switched off. Safety first, right? Then, press the red reset button. It’s usually spring-loaded, so you might need to apply a bit of force until you hear a satisfying click. This action resets the internal electronics, clearing the E1 error and letting the disposal know it’s okay to start up again.
Now, turn the unit back on and test it with a small amount of cold water and a few food scraps. Be gentle though; your disposal just had its reset nap and needs to ease back into its routine. If it runs smoothly without any trouble, you’re golden! If the error persists, further investigation or professional assistance might be needed. Sometimes, there may be an underlying mechanical issue that requires a deeper look.
Preventing Future E1 Errors
So, what can you do to keep that E1 code at bay? The trick lies in understanding and respecting the limits of your disposal. Think of it like knowing how much your car can carry before the trunk just won’t shut. Feed it manageable amounts of waste, and avoid dumping in materials known for causing jams, like potato peels or grease.
Regular maintenance is your best friend against recurring issues. Run your disposal with cold water after every use to flush out lingering debris that might build up over time. Occasionally check underneath for any signs of leaks or unusual noises that could be a precursor to bigger problems.
Finally, consider integrating a cleaning routine. Use a mixture of baking soda and vinegar to tackle any odors and organic build-up inside the disposal. Prevention, as they say, is better than cure, and these simple steps can ensure your Waste King is always ready to serve without interruptions.
In conclusion, resetting your Waste King garbage disposal is often the right move when faced with an E1 error code. With a clear understanding of what causes these hiccups and how to prevent them, you’ll keep your kitchen running smoothly, just like clockwork.