You might be wondering, what exactly is Error Code E3? Simply put, it’s your disposal’s way of letting you know there’s a jam caused by something that shouldn’t have gone down the drain. Imagine it like a traffic jam in your city where everything comes to a screeching halt. No one likes being stuck, whether it’s cars on a highway or food in your garbage disposal. Thankfully, with some simple preventative measures, you can keep your Insinkerator from throwing a tantrum.
Understanding Your Insinkerator and Code E3
Your kitchen’s garbage disposal is more than just the angry growl under your sink. It’s a complex machine designed to chew up food particles and send them safely down the drain. An Insinkerator is like a little high-speed blender, pulverizing leftover food waste. Now, if you feed this little champ things it doesn’t like, it’ll give you the notorious Error Code E3. This is akin to overfeeding your blender with unmanageable chunks, causing it to seize up.
The good news is that understanding why this happens is half the battle won. This error typically arises from non-degradable items like bones or fibrous vegetables getting stuck. Your disposal has a motor overload protection that kicks in, preventing further damage. It’s like your car’s warning light blinking red—time to pull over and see what’s gone wrong. Knowing what can cause such jams allows you to anticipate and prevent them in the future.
To prevent errors, it’s crucial to respect your garbage disposal’s limits. Picture it like a picky eater; it loves soft stuff like fruit peels but doesn’t get along with tougher items like chicken bones or artichokes. Keeping this in mind will save you a lot of headaches.
How to Prevent Future Clogs and Jams
Prevention is better than cure, as they say. Let’s delve into some practical steps to keep your Insinkerator healthy and happy. The first rule of thumb is to watch what you feed your disposal. Think of it like a diet for your appliance. Avoid putting anything too hard, such as bones, or too fibrous, like corn husks. Imagine trying to chew on tough beef jerky without teeth—your disposal feels the same way.
Another critical step is to ensure you’re running enough water when using the disposal. Water acts like a lubricant, helping food particles glide through the disposal with ease. It’s similar to washing down your food with water—without enough, things get stuck. Always run cold water before, during, and after you use it. Cold water helps solidify any grease that sneaks down, chopping it cleanly rather than letting it turn into a stubborn goo.
Regular cleaning is also essential. A simple mix of baking soda and vinegar can work wonders. Think of it as giving your Insinkerator a refreshing facial. Pour the mixture in, let it fizz for a few minutes, then rinse it out with boiling water. This routine keeps your disposal fresh and free of any lingering debris that might cause future jams.
What to Do If Error Code E3 Strikes
Even with precautions, sometimes the dreaded E3 might pop up. What then? Don’t worry, because most of the time, you can fix it without calling in the cavalry. Start by turning off the power to your disposal. You wouldn’t want to stick your hand in a moving blender, right? Make sure it’s completely safe to touch.
Next, check inside with a flashlight for any obvious obstructions. Use a wooden spoon or pliers to gently nudge out the offending item. Once you’ve removed the culprit, press the reset button usually located at the bottom of the unit—consider it a soft reboot. It’s like unplugging your frozen computer and plugging it back in.
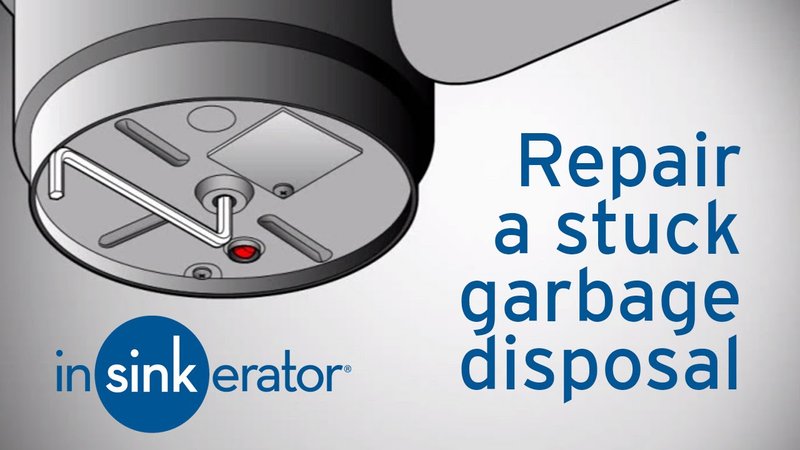
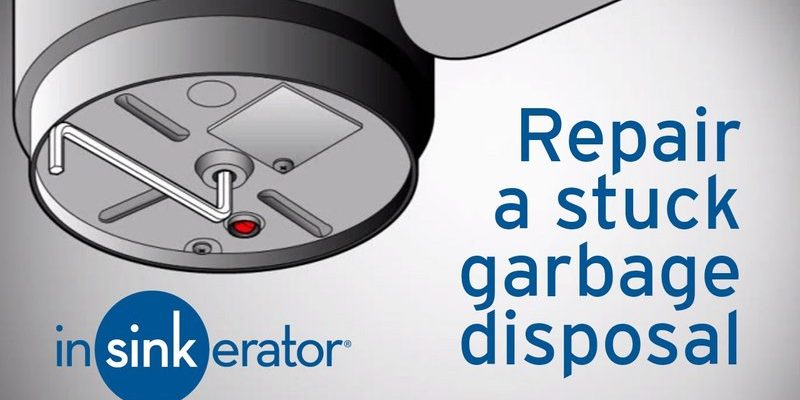
If it still doesn’t work, your disposal might need a bit more encouragement. Use an Allen wrench to manually turn the flywheel at the bottom, hopefully dislodging any hidden jams. When everything seems clear, turn the power back on, and give it a test run with a little water and safe scraps.
Maintaining a Jam-Free Kitchen Environment
The road to a seamless kitchen experience with your Insinkerator doesn’t end with just fixing problems as they arise. Proper maintenance is key to keeping those error codes at bay. Regular checks and balances will keep everything in top form, avoiding unexpected hiccups in your culinary endeavors.
Aside from careful use and regular cleaning, consider running your disposal with ice cubes every so often. The ice helps to scrape off any residue inside the unit, keeping the blades sharp and efficient. It’s like giving your disposal a cool, refreshing workout without straining it.
Moreover, using citrus peels can offer dual benefits. Not only do they help clean your disposal, but they also leave it smelling fresh. Imagine it as a natural air freshener for your garbage disposal, maintaining its charm and functionality.
Finally, educating those who use your kitchen regularly is just as vital to preventing future errors. Make everyone aware of what can and cannot go down the disposal to avoid mistakes that might lead to another E3 situation. With collective effort and these tips in mind, you can keep your Insinkerator running smoothly for years to come.
