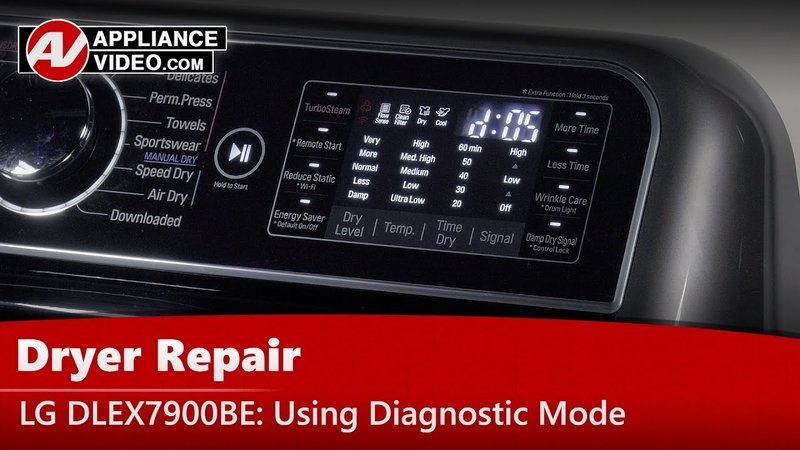
The E1 error code on LG dryers is a common issue. In simple terms, it usually points to a problem with the dryer’s thermistor or the temperature sensor. These components are crucial because they help regulate the dryer’s temperature. When they don’t function correctly, it can lead to overheating or inefficient drying cycles. But don’t worry! While it might sound technical, grasping these fundamentals can help you troubleshoot the problem with ease.
Understanding the E1 Error Code
First things first, let’s talk about what the E1 error code really means. Think of your dryer as a mini weather station. Just like a meteorologist relies on accurate data to forecast the weather, your dryer depends on its internal sensors to determine the drum’s temperature. The thermistor is the main player in this scenario. If it goes haywire, the dryer gets confused, leading to the E1 code popping up.
When the thermistor fails or gives faulty readings, your dryer might think it’s snowing when it’s actually on a sunny beach, metaphorically speaking. This confusion prompts the error code. So, what causes these sensors to fail? Sometimes, it’s simply wear and tear. Like a well-used pencil needing sharpening, electronic parts can degrade over time.
Another possibility is a loose or damaged wire. The dryer’s internal world is akin to a busy city with many connections. If one road (or wire) is blocked or broken, it can cause chaos. Lastly, environmental factors like humidity or dust can affect sensor performance, as dust bunnies and electronics aren’t the best of friends. Keeping the dryer clean and well-maintained can often ward off these issues.
Fixing a Faulty Thermistor
Now that you’re acquainted with the thermistor’s role, let’s discuss how to fix it if it’s faulty. It’s like tending to a misbehaving choir member. The thermistor needs to be in harmony with the other parts for a seamless drying process. One of the first steps is to visually inspect the thermistor and its connections. Ensuring everything is snugly connected is crucial. Sometimes a simple reconnection solves the problem.
If the wiring seems fine, it might be time to replace the thermistor. This is a bit like changing a light bulb — it might seem daunting, but with careful handling and the right tools, it’s doable. Remember to always disconnect the dryer from its power source before tinkering inside. Safety first! Replacement parts can be found online or at appliance stores, and many come with handy guides or diagrams.
Once replaced, run a test cycle. If the dryer operates without throwing an E1 error, congratulations! You’ve solved the mystery. However, if the problem persists, it may be a deeper issue, and reaching out to a professional technician could be the best route. They have the know-how to delve deeper if the basic fixes don’t do the trick.
Regular Maintenance to Prevent Future Errors
An ounce of prevention is worth a pound of cure, as the saying goes. Keeping your dryer in tip-top condition can help avoid encountering the E1 error in the future. Regular maintenance includes cleaning the lint filter and ensuring the exhaust vent is clear. You can think of it like flossing for your dryer — it keeps things running smoothly and prevents blockages.
It’s also smart to occasionally check on the dryer’s interior components. Every few months, unplug the machine, open it up, and gently clean away any lint or dust build-up. This small effort can make a big difference, much like a quick morning stretch setting a positive tone for your day.
Finally, using your dryer under normal, specified loads can prevent undue strain on its parts. Overloading is like trying to run a marathon in high heels — it’s bound to cause trouble. By taking these steps, you’re not only extending the life of your dryer but also ensuring your laundry days are smooth and error-free.
In conclusion, the E1 error code might seem troublesome at first glance, but with a bit of know-how and regular care, you can tackle it like a pro. Happy drying!