Error Code E1 usually signals a problem with the dryer’s drying cycle. It’s often related to temperature sensing. Imagine your dryer as a chef trying to bake a cake. If the oven’s thermostat is off, the cake might come out undercooked or overcooked. Similarly, your dryer relies on accurate temperature readings to dry your clothes properly. So, when you see the E1 error, it’s like the dryer saying, “I can’t read the temperature correctly!” Fortunately, following some simple steps can help reset your dryer and get it running smoothly again.
Understanding Error Code E1 on Whirlpool Dryers
Error Code E1 is mainly associated with temperature-related problems within the dryer. Just as a car needs the right fuel mix to run efficiently, your dryer requires proper temperature regulation. When this code appears, it often indicates that the dryer is not detecting the right temperature, which can stem from a faulty temperature sensor or thermistor.
A thermistor in your dryer acts much like a thermometer. Its job is to measure the air temperature inside the dryer drum. If it’s malfunctioning, it’s almost like trying to tell the weather with a broken thermometer—pretty tough, right? This malfunction throws off the drying cycle, leading to the E1 error. Usually, this happens when the thermistor is damaged or covered in lint or debris. A blocked or dirty sensor can easily lead to these kinds of disruptions.
Now, before you rush to call a technician, there are a few things you can try yourself. Many times, a simple reset or a thorough cleaning can resolve the problem. It’s akin to rebooting your computer when it acts up. So, don’t worry, because the next steps will guide you through how to reset your Whirlpool dryer after encountering this error.
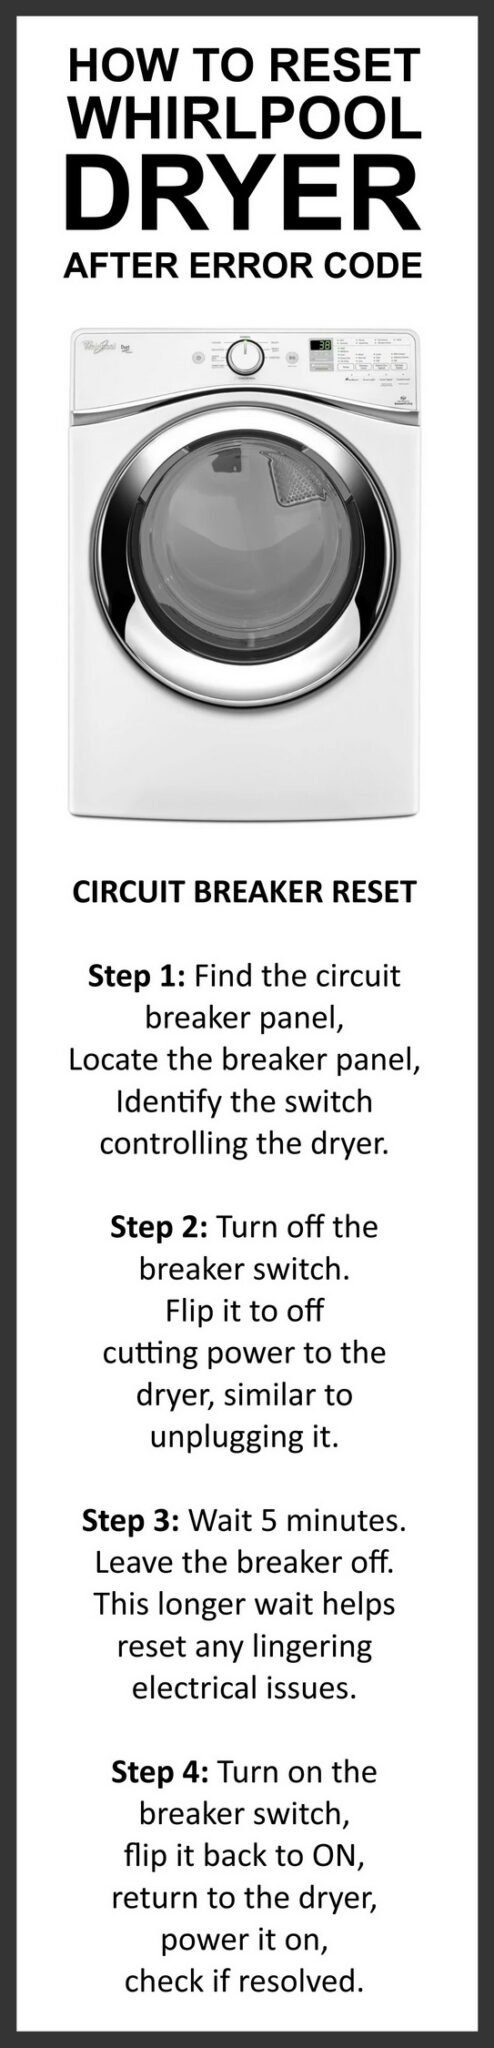
Steps to Reset Your Whirlpool Dryer
Step 1: Power Off and Unplug
First things first, safety is key. You wouldn’t start tinkering with a toaster while it’s plugged in, right? The same rule applies here. Begin by turning off your dryer and unplugging it from the electrical outlet. This ensures your safety and allows the dryer to reset itself. Think of it like giving it a chance to cool down and rethink its strategy.
After unplugging, let the dryer sit for a minute or two. During this time, it’s trying to clear its “mind” and reset any electronic glitches. It’s similar to what we do when we take a few deep breaths to calm down. Once the time is up, go ahead and plug the dryer back in.
Step 2: Clean the Lint Filter
Now that the dryer is powered down and reset, it’s time to check the lint filter. A clogged filter can often lead to overheating, causing the thermistor to send false readings. Imagine trying to breathe through a thick scarf—it’s not easy! Similarly, air needs to flow freely through your dryer.
Remove the lint filter and give it a good clean. If there’s stubborn lint stuck, washing it with warm soapy water can help. Make sure it’s completely dry before you put it back. This step not only helps in resolving error codes but also improves the overall efficiency of your dryer.
Step 3: Restart and Test
Once you’ve cleaned the lint filter and plugged the dryer back in, it’s time to test if the reset worked. Start by turning on the dryer and setting it to a normal drying cycle. Keep an eye on the display to see if the E1 error code reappears.
If the dryer runs smoothly, congratulations! You’ve successfully reset your Whirlpool dryer. It’s like fixing a leaky faucet—often, it just takes a bit of elbow grease to get things back to normal. However, if the error persists, it might be time to consider other steps or consult a professional for further inspection.
What If the Error Persists?
Sometimes, despite your best efforts, the error code might still be there like an unwelcome guest. This can be a sign that the issue is beyond a simple reset. It could imply that the thermistor or another component needs replacing. It’s similar to realizing that a band-aid won’t fix a sprained ankle—you might need expert intervention.
At this point, checking the user manual can be beneficial. It often contains specific troubleshooting advice tailored to your model. If the manual doesn’t provide the answers you need, contacting Whirlpool customer support or a certified technician would be the next best step. They can diagnose the issue more thoroughly and suggest the appropriate repairs or replacements.
Moreover, it’s important to make sure the dryer is located in a well-ventilated area. Poor ventilation can lead to overheating and additional errors. Regular maintenance, such as checking for obstructions in the vent and ensuring proper airflow, can prevent future issues.
Preventative Measures for Future
Preventing further occurrences of Error Code E1 is not just about solving the problem once—it’s about maintaining your dryer to avoid future hiccups. Regular maintenance is crucial, much like keeping your car running smoothly with regular oil changes.
Firstly, make cleaning the lint filter a habit after every use. It keeps your dryer efficient and reduces the risk of overheating. Secondly, inspect the dryer vent periodically to ensure it’s free from lint build-up. A blocked vent is like trying to breathe through a straw—it’s not very effective and can lead to bigger issues down the line.
Finally, schedule a professional check-up periodically. Even if everything seems to be working fine, it’s always a good idea to have a professional give your dryer a once-over. It’s like visiting the dentist—you don’t want to wait until there’s a painful problem to seek help.
In conclusion, resetting a Whirlpool dryer after encountering Error Code E1 doesn’t have to be a daunting task. With some patience and a few simple steps, you can often resolve the issue yourself. And remember, regular maintenance is your dryer’s best friend, ensuring it runs smoothly and efficiently for years to come.