Understanding how to tackle this problem will not only save you time and money but also leave you feeling a bit like a washing machine whisperer. You’ll learn how to get things flowing again in no time. And the best part? You don’t need a toolbox or a degree in engineering. Just a little patience and some guidance, and you’ll have your trusty washer back in action. Ready to roll up your sleeves? Let’s dive into the steps to reset your GE washing machine after encountering that pesky E1 code.
Understanding Error Code E1
Before you can fix the problem, it’s important to understand what error code E1 actually means. Imagine trying to get water from a dam when the gates are closed. No matter how much you twist the tap, nothing is coming through. Similarly, an E1 error indicates that your washing machine is struggling to draw in water. This could be due to a kinked hose, a clogged filter, or even an issue with the home’s water supply.
When your machine detects that not enough water is entering, it pauses its cycle and calls for help—hence the error code. It’s the machine’s way of saying, “Hey, something’s not right here!” But there’s no need to fret. Often, the solution is just a few straightforward checks away. Remember, your washing machine is a bit like a teenager at times—it just needs a little guidance to stay on track.
The first step to solving E1 is acknowledging that it’s usually related to water entry. No water means no washing, which ultimately means more laundry piling up. Understanding the context helps you logically approach the fix without diving headfirst into the user manual.
Check the Water Supply
Alright, now that you know what E1 means, let’s start with the simplest fix: checking your water supply. Think of this step as making sure the door is unlocked before trying harder to push it open. First, ensure that both hot and cold water faucets connected to your washing machine are fully turned on. Sometimes we might accidentally nudge these when cleaning around the washer or moving things.
Next, take a peek at the hoses that run from the wall to your machine. Are they bent like a pretzel? A kink can prevent water from flowing smoothly, just like a clogged artery. If they look twisted, untangle them carefully. This simple fix often resolves the error in no time.
Finally, if you have a water filter connected to these hoses, it might be time for a cleaning. Filters catch debris to keep your water clean, but if they’re clogged, they’ll block water like a dam. Cleaning or replacing them could be the key to resolving your issue. Once you’ve checked these areas, try starting the washer again to see if the error persists.
Inspect the Inlet Valve
If the water supply seems fine, your next step involves the inlet valve—basically the gatekeeper of water in your washing machine. When it malfunctions, it’s like a stubborn door refusing to let you in. You might need to check this if the previous step didn’t fix the problem. First, unplug the washing machine. Yes, I know, it’s a bit of a hassle, but it’s all about safety.
Once you’ve pulled the washer away from the wall, locate the inlet valve. This is usually found at the back of the machine where the hoses connect. Over time, dirt and minerals can build up, clogging the valve. Cleaning it might help reopen the flow of water. Carefully detach it for cleaning, and ensure everything is securely put back in place afterward.
If cleaning doesn’t work or if it looks damaged, consider replacing the valve. It’s a bit like changing a light bulb—initially daunting, but quite simple once you’ve done it. After either cleaning or replacing the inlet valve, plug the machine back in and try running it again.
Final Steps and Prevention Tips
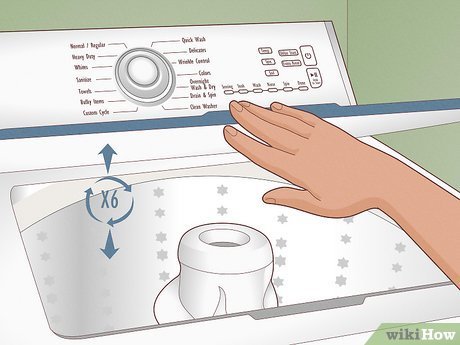
Once you’ve tackled the physical checks, it’s time to reset your GE washing machine. This is a bit like giving it a digital hug—turning it off and on again helps clear its temporary memory and resolve minor electronic glitches. To do this, unplug your machine and leave it unplugged for a minute or two. Then, power it back up and give it a test run.
If the error persists, and you’ve tried all the physical fixes, it might be time to reach out to GE customer support. They can offer more specific guidance or arrange for a technician if necessary. But chances are, if you’ve followed these steps, you’ll see that dreadful E1 code disappear.
To prevent future hiccups, regularly check your hoses and water filters. Keeping these components in check is the best way to ensure smooth laundry days. A bit of attention goes a long way in preventing repeated trips down troubleshooting lane. Now, you can confidently tackle E1 errors and keep your laundry routine flowing like a dream.